WebGL: First Program
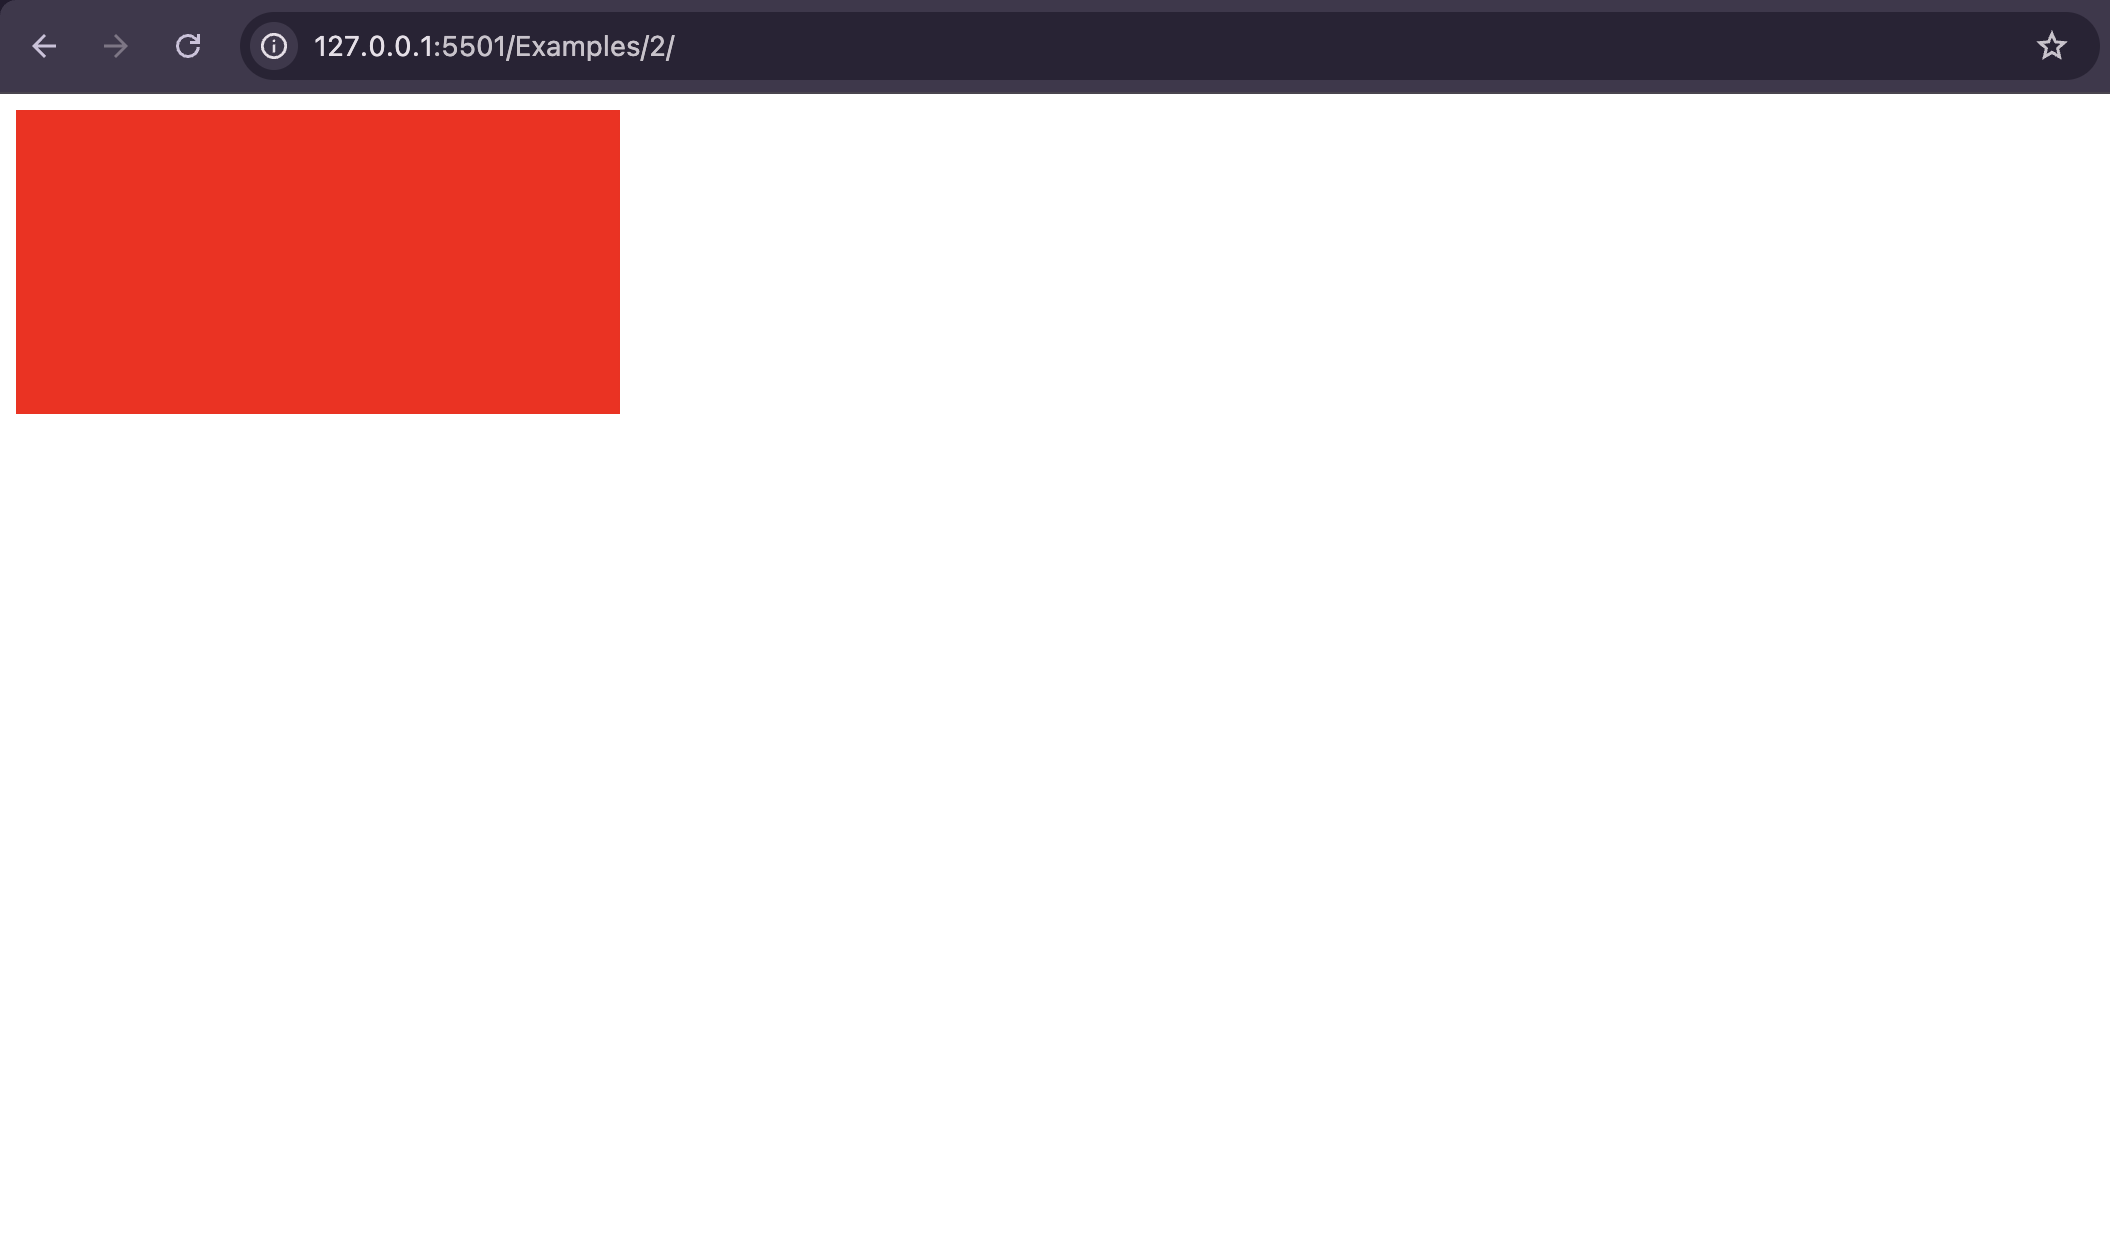
The first program is going to be incredibly small and simple, we will just paint the canvas red.
Setting Up the <canvas>
As discussed in the previous chapter, the <canvas> element is now widely supported by most browsers. But what exactly is a canvas?
The <canvas> is an HTML tag that provides a drawing area on a web page. You can think of it like a real canvas used for painting. Just as you use pencils, brushes, or colors to draw on a physical canvas, we use JavaScript and WebGL as digital tools to draw pixels, shapes, and graphics on the HTML canvas.
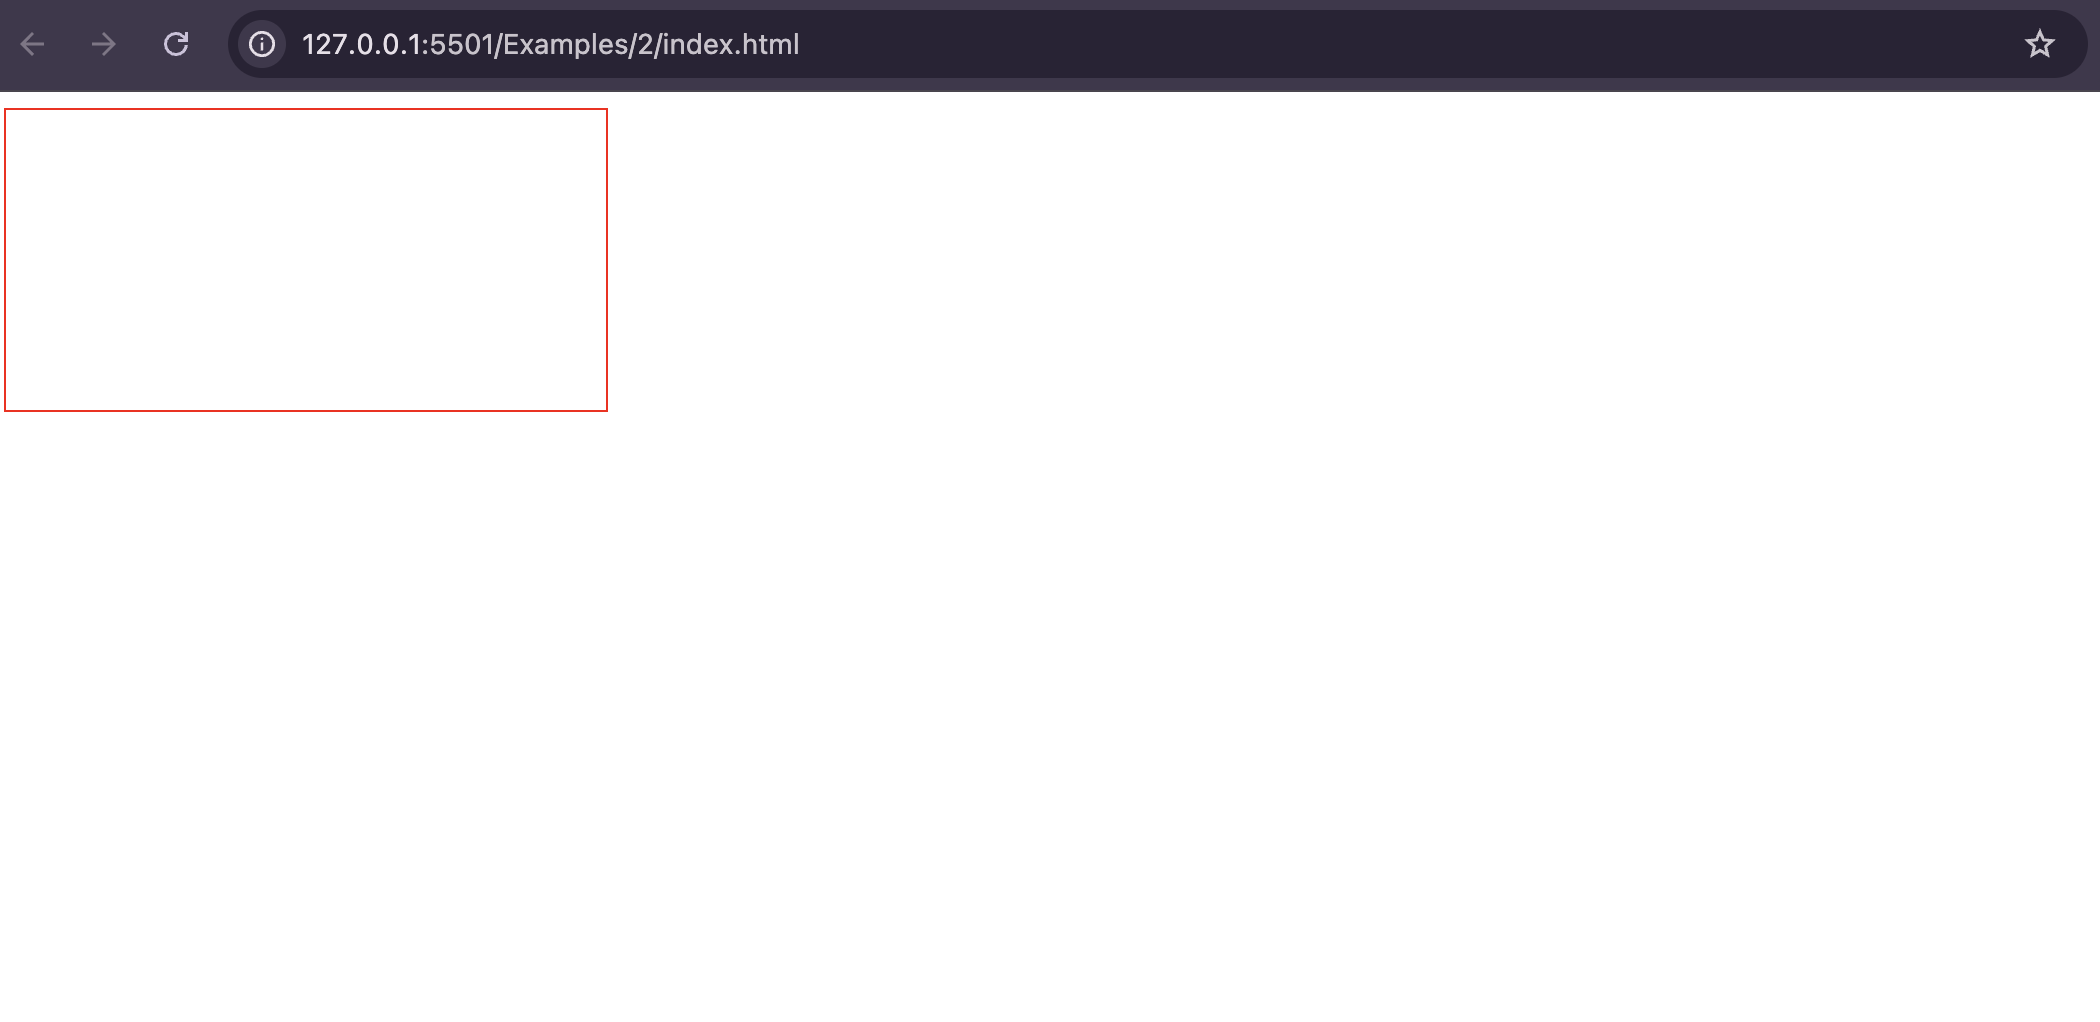
Here is the HTML to use the canvas element:
<!DOCTYPE html>
<html lang="en">
  <head>
    <meta charset="UTF-8" />
    <meta name="viewport" content="width=device-width, initial-scale=1.0" />
    <title>Document</title>
  </head>
  <body style="margin:5px">
    <canvas style="border: 1px solid red; height:100%; width:100%">
  </body>
</html>
Getting Started with WebGL
To use WebGL we need JS so let's make a new file named script.js and import it into the html after the canvas element like this:
<canvas style="border: 1px solid red">
<script src="./script.js"></script>
Now let's see the steps that we would be taking further to paint the canvas red.
- Get the canvas reference in JS.
- Get the webgl context from the canvas.
- Set the clear color.
- Clear the color buffer.
Now let's see each step in detail:
1. Get the canvas reference in JS
We use the function document.querySelector to get a reference to the canvas element in JavaScript. If you’re a web developer, you’ve likely used this function countless times.
const canvas = document.querySelector("canvas");
2. Get the WebGL context from the canvas
Just like you need a brush to paint on paper, you also need a digital brush to draw on a canvas. In our case, this digital brush is WebGL.
When you use a code editor like VS Code and type canvas.getContext(""), you will see a variety of available brushes to draw with. In CG, we refer to these brushes as contexts.
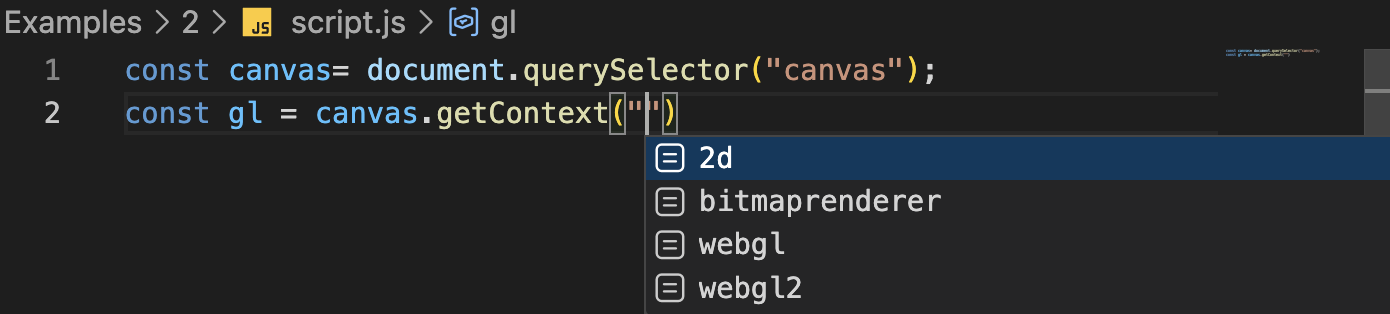
In the image above you can see different types of contexts available but, as this is a WebGL doc so we will not dwell much on the other contexts but for your information the 2d context is used for only drawing the 2D CG and it uses CPU for rendering, bitmaprenderer must also be used for something I don't know : ), webgl context is the older version of webgl and the webgl2 is the newer version of webgl with enhanced speed and functionalities.
In these docs we would be using the webgl2 rendering context.
const gl = canvas.getContext("webgl2")
Note: We can have only one context per canvas
3. Set Clear Color
Now that we have the canvas and our brush but before we start drawing, WebGL needs to know what color to use when the canvas is reset or prepared for drawing. This color is called the clear color, and WebGL lets us set it using the following function:
gl.clearColor(1, 0, 0, 1)
You might be wondering what these four numbers mean. They represent the RGBA values, normalized to the range 0 to 1. Here we are setting the color to red.
Note: The term “clear” might seem confusing at this point. Its meaning will be explained in the next step.
4. Clear the Color Buffer
To paint the canvas, WebGL provides the following function:
gl.clear(gl.COLOR_BUFFER_BIT)
Before understanding the clear function, let's look at gl.COLOR_BUFFER_BIT.
gl.COLOR_BUFFER_BIT is one of many WebGL constants. In general, these constants act like flags that tell WebGL what specific action to perform or which part of the system to affect. For example, in the clear function, they indicate which buffers of the framebuffer should be cleared.
Note: The framebuffer here is the same concept we discussed in Basics chapter, where it stores pixel data for the current frame.
Other similar constants include:
gl.DEPTH_BUFFER_BIT– for the depth buffergl.STENCIL_BUFFER_BIT– for the stencil buffer
Using these constants allows WebGL functions to work in a flexible and general way, letting you specify exactly what you want to operate on.
Now let's come to the clear function, the function name clear might seem unintuitive at first, because you may feel like clearing the canvas will make it kind of transparent or something like that, but in webgl clear with the gl.COLOR_BUFFER_BIT as arg means to erase all previous pixel color data and fill the buffer with the clear color that we set in the previous step using gl.clearColor.
You can also clear the depth buffer or the stencil buffer by passing the gl.DEPTH_BUFFER_BIT, and gl.STENCIL_BUFFER_BIT respectively.
Once you follow all the above steps you will see the following result:
Final Code
index.html
<!DOCTYPE html>
<html lang="en">
  <head>
    <meta charset="UTF-8" />
    <meta name="viewport" content="width=device-width, initial-scale=1.0" />
    <title>Document</title>
  </head>
  <body>
    <canvas style="border: 1px solid red"></canvas>
    <script src="./script.js"></script>
  </body>
</html>
script.js
const canvas = document.querySelector("canvas");
const gl = canvas.getContext("webgl2");
gl.clearColor(1, 0, 0, 1);
gl.clear(gl.COLOR_BUFFER_BIT);