Let’s Draw a Point
In the last chapter we learned a bit about GPU and shaders, now its time to write some GPU code and draw a point on the screen.
In CG whether you are rendering a single point or a full 3D scene the underlying steps which I say Eightfold Path of rendering remain the same so let's start with that.
The Eightfold Path of Rendering Anything in WebGL
- Set the viewport
- Write the vertex and fragment shaders
- Prepare the Shaders for the GPU
- Create a WebGL program
- Attach the shaders to the program
- Link the program
- Use the WebGL program
- Issue the draw call
I know these steps may feel overwhelming in the first glance but believe me they are incredibly easy. I will not ask you to learn these Eightfold paths as you had to do in the history class ; ), they will come naturally once you practice them two to three times.
Now lets see each step in detail:
1. Set the viewport
Setting the viewport means telling the WebGL system that this is my canvas height and width and I want you to draw in this space.
To do this, we first set the width and height of the canvas and then call the function gl.viewport.
Let's see the code first:
const canvas = document.querySelector("canvas");
const gl = canvas.getContext("webgl2");
canvas.height = window.innerHeight; // For making the canvas full screen
canvas.width = window.innerWidth; // For making the canvas full screen
gl.viewport(0, 0, canvas.width, canvas.height);
You would be familiar about the first two lines of the code so they don't need any explanation.
The next two lines are there for setting up the canvas height and width.
Then comes the gl.viewport function that
takes four arguments:
- x: The x-coordinate (in pixels) of the lower-left corner of the viewport.
- y: The y-coordinate (in pixels) of the lower-left corner of the viewport.
- width: The width of the viewport in pixels.
- height: The height of the viewport in pixels.
2. Write the vertex and fragment shaders
We are using JS as a wrapper for using WebGL so actually the shader code will be written as JS strings, then we will be sending it to the GPU for execution.
Lets see the vertex shader to render a point at the center of the screen:
// vertex shader
const vertexShaderSource = `#version 300 es
void main(){
  gl_Position = vec4(0,0,0,1);
  gl_PointSize = 30.0;
}`;
The first line of the shader defines the version of the GLSL we are using that is 3.00 es, here es stands for Embedded Systems1.
The next line defines the main function which serves as the entry point for the shader, similar to what we have in C/C++.
Then we initialize the gl_Position. It is a built-in variable available in the WebGL vertex shader. It is the responsibility of the vertex shader to assign a value to gl_Position , and this value represents the position of the vertex.
Now you would have a question that, ok fine we have predefined variables in other languages as well but what is that vec4? We have never seen it.
To answer that let's see the core purpose of GLSL. GLSL is designed to render high performance graphics, and in CG, vectors are so indispensable that we have specialized data types for them, and vec4 is one of them representing a 4 dimensional vector.
These data types also have constructors and hence can be invoked to create vector values by directly providing their components.
For example, vec4(0, 0, 0, 1) creates a 4D vector.
There are other such data types as well for example mat2x2, sampler_2d etc. we will see them in later chapters.
One more thing that might bother you, is why we need 4D vector to describe a position in a 3D world? These 4D coordinates are called homogeneous coordinates. In this representation, the first three components represent the usual x, y, z coordinates, and the fourth component is called w.
For the time being, you can simply understand that the 4D vector (x, y, z, w) represents the 3D point(x / w, y / w, z / w), we’ll have a full discussion about it in later chapters.
For now, just remember that the presence of the w component allows us to express transformations in a more general and unified way.
NOTE: The origin lies at the center of the canvas hence the point (0,0,0) means the center of the canvas.
After this we have another predefined variable gl_PointSize whose default value is 1 which means that the size of the point will be 1px, and in this line we are setting it to 30px.
Fragment Shader:
// fragment shader
const fragmentShaderSource = `# version 300 es
precision mediump float;
out vec4 color;
void main(){
  color = vec4(1,0,0,1);
}`;
The fragment shader is also written in GLSL, just like the vertex shader, so it looks similar to it with a few differences.
First, in the fragment shader we must specify the precision for floating-point values. Here, we declare that we want medium precision for float data types. We will discuss precision qualifiers in detail later, when we study shaders more deeply.
Second, just as the vertex shader is responsible for setting gl_Position, the fragment shader is responsible for producing the final color of each fragment. In GLSL, we declare an output variable using the out keyword before the main function. Then, inside the main function, we assign a value to this output variable. In our case, the output variable vec4 color is responsible for doing so. Color is also a 4D vector representing RGBA values which are normalized to the range of 0 to 1.
3. Prepare the Shaders for the GPU
Now that we have the shaders as JS strings we need to let the WebGL system know that this is our fragment shader and this is our vertex shader.
To do this we have two functions gl.createShader and gl.shaderSource.
First let's look at the code then we will understand what these functions do.
For vertex shader:
const vertexShader = gl.createShader(gl.VERTEX_SHADER);
gl.shaderSource(vertexShader, vertexShaderSource);
For fragment shader:
const fragmentShader = gl.createShader(gl.FRAGMENT_SHADER);
gl.shaderSource(fragmentShader, fragmentShaderSource);
The gl.createShader function creates a shader object managed by the WebGL system. The argument you pass (gl.VERTEX_SHADER or gl.FRAGMENT_SHADER) tells WebGL what type of shader you are creating. This function returns a reference to the newly created shader object, which we can then use to attach source code and compile it.
Now once the shader object is created we need to put the shader source code into the object which is done using the function gl.shaderSource. This function takes in two arguments, the first one is the shader object reference in which you want to put your shader code and the other argument is a string which is the shader source code we had written before.
At this point, the shader source is still just plain text, which the GPU cannot execute directly. To make it usable, we must compile the shader using the gl.compileShader function.
Code for compiling vertex shader:
gl.compileShader(vertexShader);
if (!gl.getShaderParameter(vertexShader, gl.COMPILE_STATUS)) {
  console.log(
    "error while compiling the vertex shader",
    gl.getShaderInfoLog(vertexShader)
  );
}
Code for compiling fragment shader:
gl.compileShader(fragmentShader);
if (!gl.getShaderParameter(fragmentShader, gl.COMPILE_STATUS)) {
  console.log(
    "error while compiling the fragment shader",
    gl.getShaderInfoLog(fragmentShader)
  );
}
gl.compileShader function takes a reference to a shader object and compiles the source code attached to it. If the compilation is successful, the shader is marked as compiled; otherwise, the compilation status is set to false and an error log is generated.
The if block in the code above is optional and mainly used for debugging. We query the compile status of the shader, and if it is false, we print the error log to the console. This helps us understand what went wrong during compilation.
Querying shader parameters have a small performance cost, so it is usually avoided in production code.
4. Create WebGL program
Once the shader objects are created you need some vessel that can combine the fragment shader and the vertex shader together, as alone they are good for nothing and this vessel is provided by WebGL program object.
To create a program object we need to invoke gl.createProgram function. It returns a handle (reference) to a WebGL program object managed by WebGL system.
Code:
const program = gl.createProgram();
5. Attach the shaders to the program
Now the program needs to know that what are the vertex and fragment shaders to be used together. We do it using the gl.attachShader function which takes two args, the first one is the program reference and the next one is the shader reference, let's see the code:
gl.attachShader(program, vertexShader);
gl.attachShader(program, fragmentShader);
6. Link the program
Now that the program knows which shaders are to be used together, the next step is to link them. You can think of linking as the process of bringing the vertex shader and the fragment shader together into a single entity.
To link the program we invoke the gl.linkProgram function with the WebGL program object reference as the argument.
Let's look at the code now:
gl.linkProgram(program);
if (gl.getProgramParameter(program, gl.LINK_STATUS)) {
  console.log(
    "error while linking the program:",
    gl.getProgramInfoLog(program)
  );
}
In the first line we call the gl.linkProgram function passing in the program we want to link.
The lines that follow are just there to console any error while linking, similar to the one we did for the shaders.
7. Use the program
Now the program is ready to use. In WebGL you can have multiple programs but you can only use one at a time, so we need to specify which program to use by invoking the function gl.useProgram.
Code:
gl.useProgram(program);
The gl.useProgram function sets this program as the current active program. From this point onward, all subsequent draw calls will use this program until another program is selected.
8. Issue the draw call
Now you are all set to draw a point and to do that we have to issue a draw call, let's see the code:
gl.drawArrays(gl.POINTS, 0, 1);
The first arg is the graphics primitive you want to draw, it can be gl.TRIANGLES , gl.LINE etc. We will have a in-depth discussion on graphics primitives.
The next argument specifies from which vertex you want to start drawing, we will have a good discussion on this in the next chapter.
The last arg is the number of vertices you want to draw and here as its a single point so only one vertex is needed.
So with this you will see something like this on the screen:
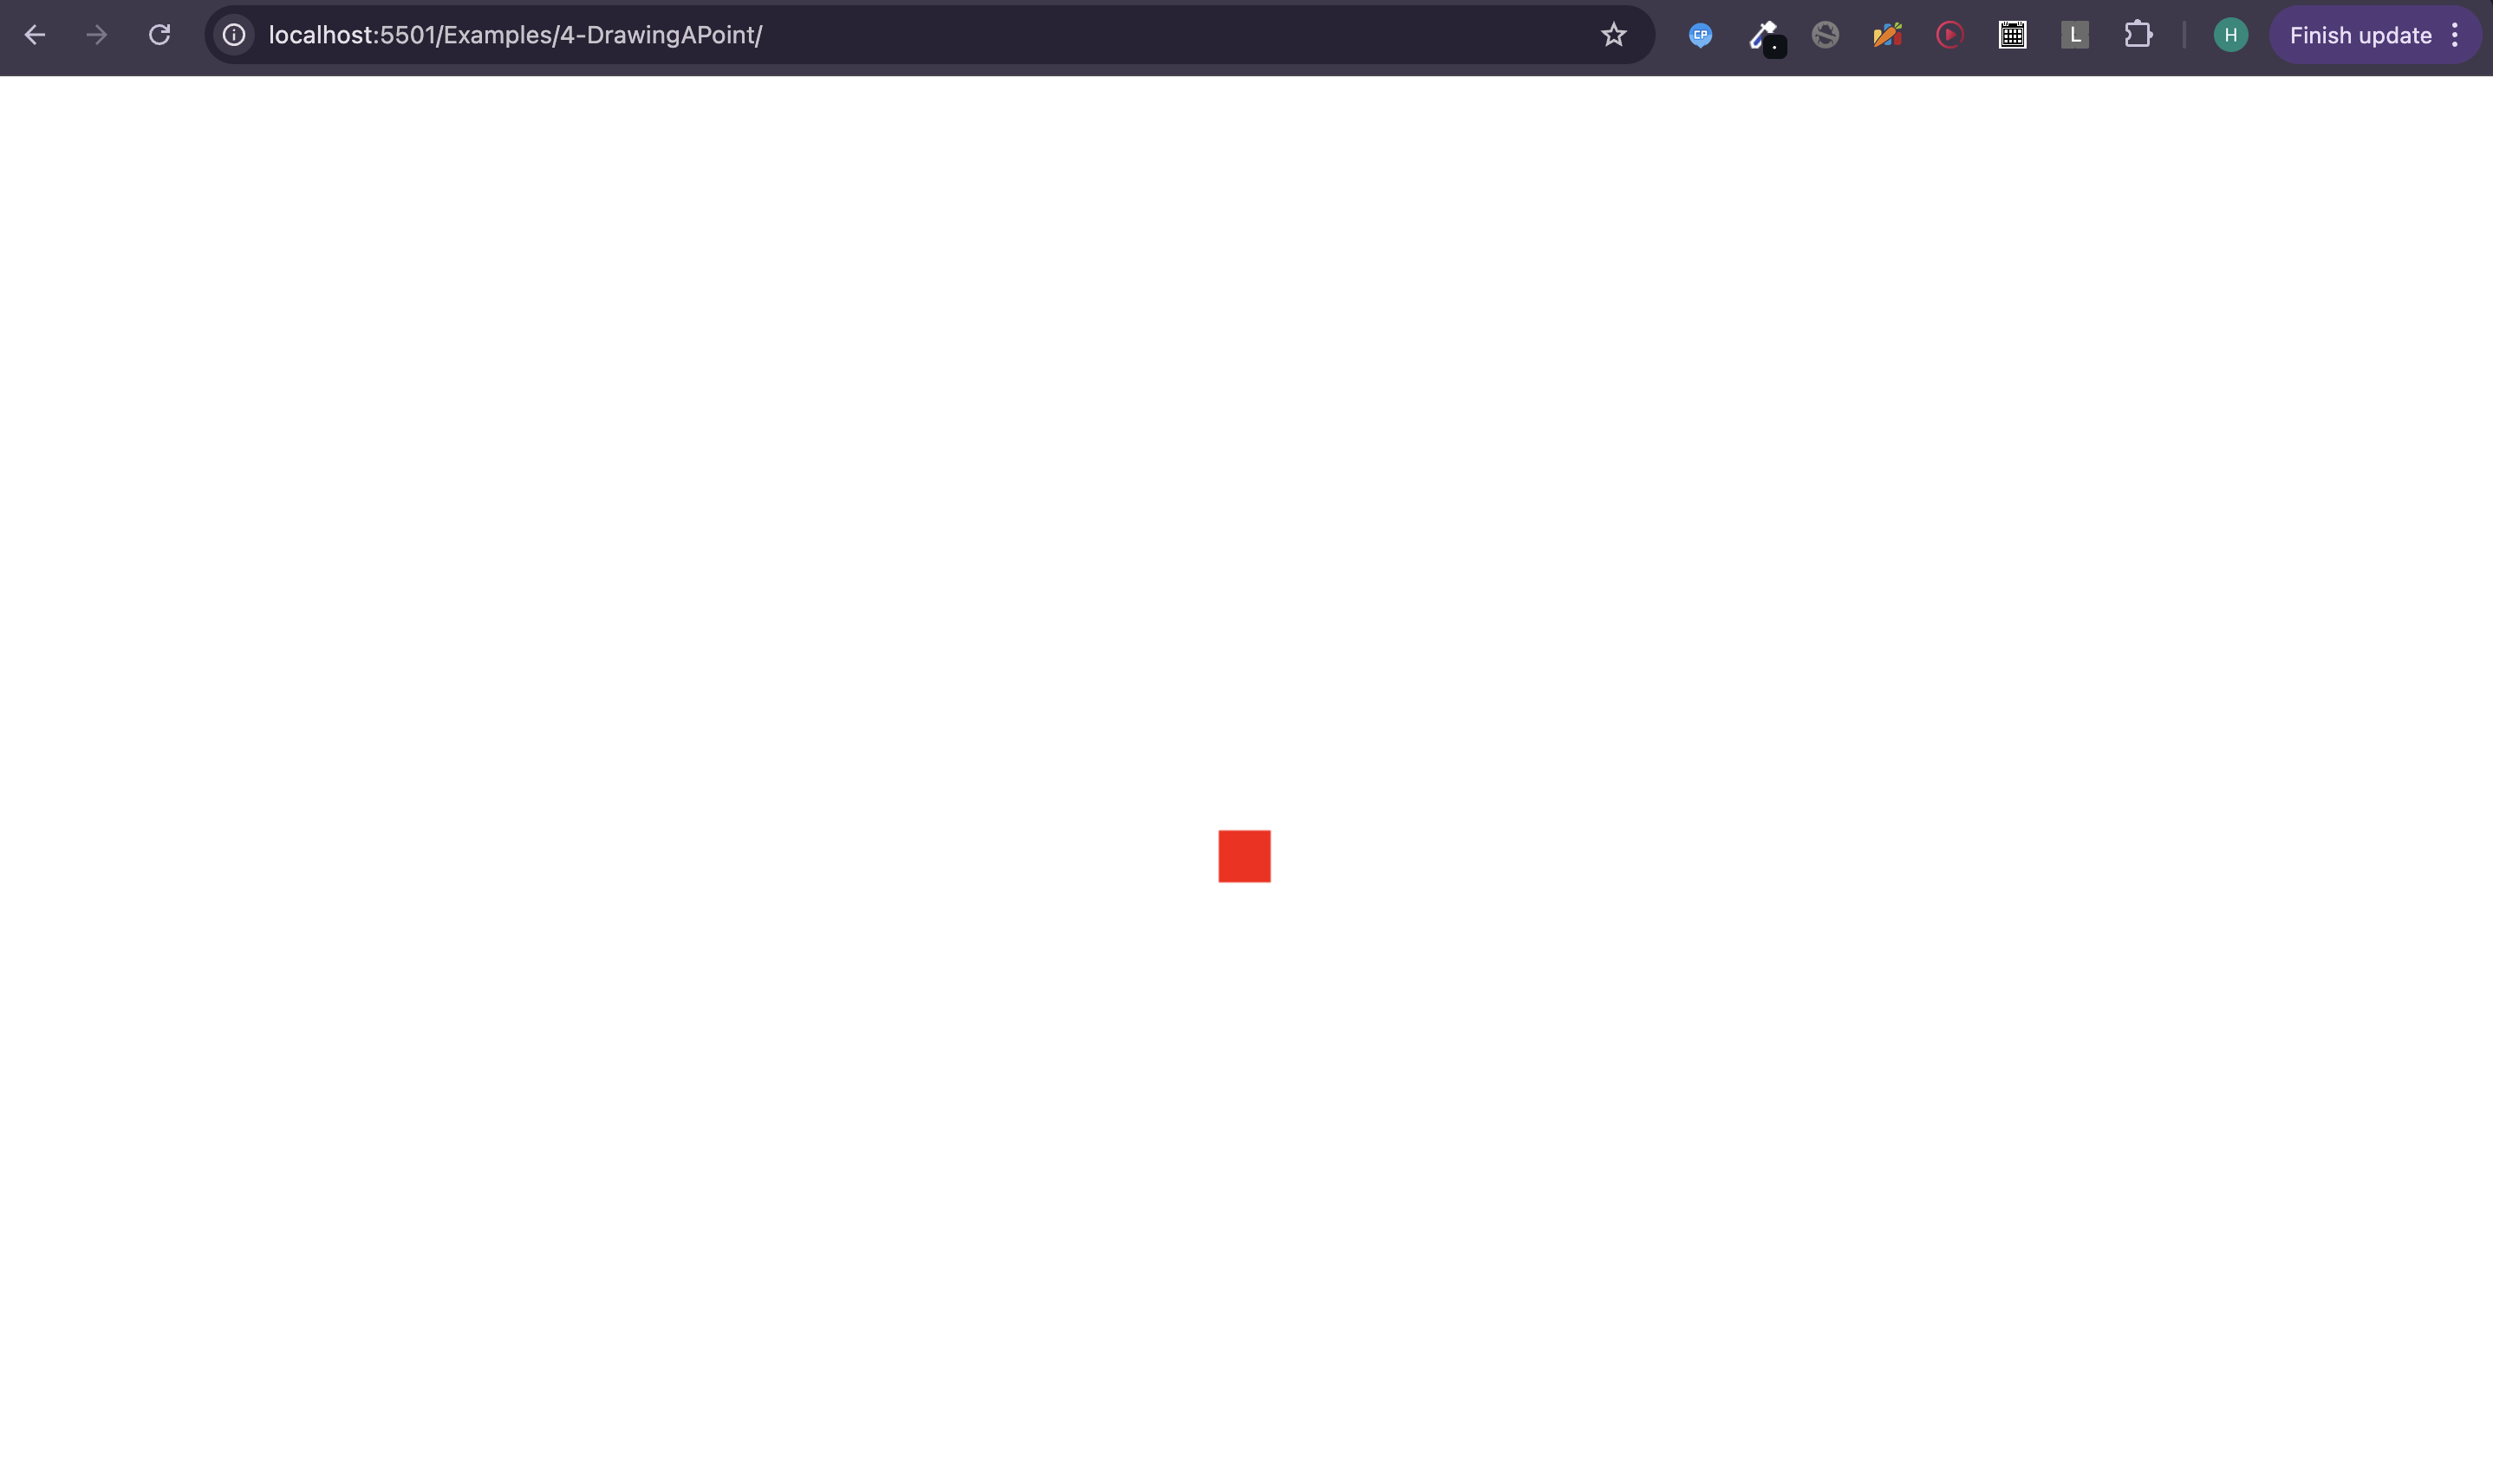
Note: The point is a square and not a circle because making a square is a lot less expensive than circle.
Final Code
script.js
//Step 1: Set the viewport
const canvas = document.querySelector("canvas");
const gl = canvas.getContext("webgl2");
canvas.height = window.innerHeight; // For making the canvas full screen
canvas.width = window.innerWidth; // For making the canvas full screen
gl.viewport(0, 0, canvas.width, canvas.height);

//Step 2: Write the shaders
// vertex shader
const vertexShaderSource = `#version 300 es
void main(){
  gl_Position = vec4(0,0,0,1);
  gl_PointSize = 30.0;
}`;

// fragment shader
const fragmentShaderSource = `# version 300 es
precision mediump float;
out vec4 color;
void main(){
  color = vec4(1,0,0,1);
}`;

// Step 3: Compile the shaders
const vertexShader = gl.createShader(gl.VERTEX_SHADER);
gl.shaderSource(vertexShader, vertexShaderSource);
gl.compileShader(vertexShader);
if (!gl.getShaderParameter(vertexShader, gl.COMPILE_STATUS)) {
  console.log(
    "error while compiling the vertex shader",
    gl.getShaderInfoLog(vertexShader)
  );
}

const fragmentShader = gl.createShader(gl.FRAGMENT_SHADER);
gl.shaderSource(fragmentShader, fragmentShaderSource);
gl.compileShader(fragmentShader);
if (!gl.getShaderParameter(fragmentShader, gl.COMPILE_STATUS)) {
  console.log(
    "error while compiling the fragment shader",
    gl.getShaderInfoLog(fragmentShader)
  );
}

// Step 4: Create a WebGL program
const program = gl.createProgram();

// Step 5: Attach the shaders to the program
gl.attachShader(program, vertexShader);
gl.attachShader(program, fragmentShader);

// Step 6: Link the program
gl.linkProgram(program);
if (!gl.getProgramParameter(program, gl.LINK_STATUS)) {
  console.log(
    "error while linking the program:",
    gl.getProgramInfoLog(program)
  );
}

// Step 7: Use the WebGL program
gl.useProgram(program);

// Step 8: Issue the draw call
gl.drawArrays(gl.POINTS, 0, 1);
Checkout the full code on github
1 WebGL is based on OpenGL ES (OpenGL for Embedded Systems), and therefore it uses GLSL ES, which is the embedded-systems version of the OpenGL Shading Language. By embedded systems, we mean resource-constrained devices like mobile phones, tablets, smart TVs, and other low-power hardware.